Fast and Simple
Home HIV Testing
discreet way to test.
Preparation to do HIV Self-test
Please follow the test directions carefully to get an accurate result.
Do not eat, drink or use oral care products (such as mouthwash, toothpaste, or whitening strips) 30 minutes before starting this test.

Always use the directions in the HIV home test kit to help read your results correctly.

Make sure you have a timer, watch or something that can time 20 to 40 minutes.

It may be helpful to have access to a phone to speak directly with a support person

Other important information
If you’re HIV positive or are on treatment or preventive treatment for HIV, the OraQuick test is not meant for you.
If you’ve participated in an HIV vaccine clinical trial, you may get a positive result using this test, but it may not mean that you are infected with HIV. You should seek follow-up with the research group.
Don't use the test if:
- The tamper-evident seal has been broken or if any of the package contents are missing, broken, or have been opened.
- The expiration date of the test is passed the date printed on the outside of the box.
- The test has been exposed to household cleaning products.
- The test has been stored outside the acceptable temperature of 2°-30°C (36°-86°F).
Testing with OraQuick HIV Self-test
& Get Results in 3 Easy Steps
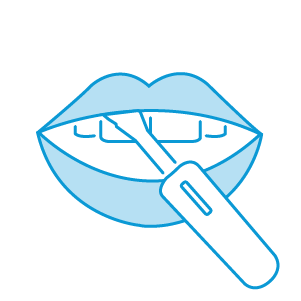
Step 1 : Swab
Place the flat pad above the teeth against the outer gum. Gently swab completely around the outer gums, both upper and lower, one time around, using the Flat Pad.

Step 2 : Insert
Insert Flat Pad of device into the bottom of Developer Vial. Start timing the test, 20 minutes.

Step 3 : Read
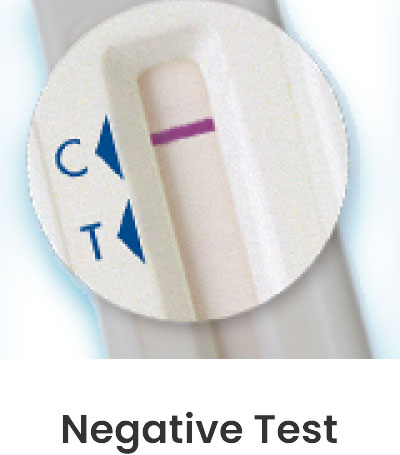
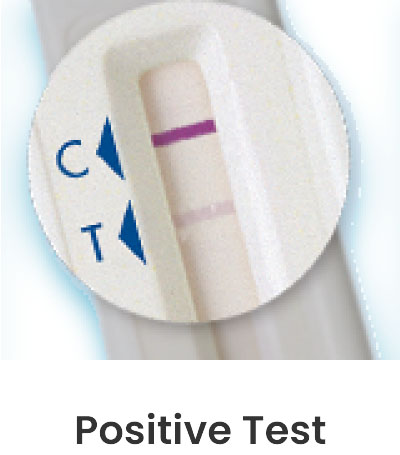
Pink fluid will travel up to “T” and “C” result window. Fluid disappears as test develops. Read at 20 minutes.
**Read results after 20 minutes but not more than 40 minutes.

Reading your OraQuick Self-Test results

Negative Result Explanation
If your test result is negative and you engage in activities that put you at risk for HIV, you should test regularly.
The most important thing to keep in mind is that HIV is preventable. Understanding how you can avoid getting HIV is important to protect yourself and your partner(s).

Positive Result Explanation
If your result is positive, there are a couple of important things you should do next.
A clinic or healthcare professional must confirm your test result. There are also some things that you should know about HIV that may ease some of the stress or confusion that you may be feeling:
- You are not alone
- Medical treatments are available to help people live long, healthy, lives
- Having HIV does not mean that you have or will get AIDs
With new treatments, many people who are HIV-positive continue to live long and active lives. They are also able to have normal relationships with HIV-negative individuals without the risk of infecting them with the virus. Ongoing research is finding better ways to treat HIV nearly every day. The key is to identify the infection as early as possible before irreparable damage is done.
Warning and Precautions
A positive result with this test does not mean that you are definitely infected with HIV, but rather that additional testing should be done in a medical setting.
A negative result with this test does not mean that you are definitely not infected with HIV, particularly when exposure may have been within the previous 3 months.
If your test is negative and you engage in activities that put you at risk for HIV on a regular basis, you should test regularly.
This product should not be used to make decisions on behavior that may put you at increased risk for HIV.
We're Here For You
We are available at [email protected] for any
questions you have.
